LaTeX 教學
基本介紹
安裝
基本語法
範例一 - 非中文內容
撰寫:
\documentclass{article}
\begin{document}

% 以下撰寫內容

Hello World

% 以上撰寫內容

\end{document}
轉成 PDF:
$ pdflatex hello.tex # 產生 hello.pdf
轉成圖片:
# PNG
$ latex2png hello.tex    # 產生 hello.png

# TODO: SVG
範例二 - 稍微完整一點的架構
撰寫:
\documentclass{article}

% 設定區域

\title{文章標題}
\author{作者}

\begin{document}

% 以下撰寫內容

Hello World

% 以上撰寫內容

\end{document}
範例三 - 數學式子
數學模式分成兩種,
分別為 inline 和 display,
inline 用於插在文字中,
用 $ 包夾,
display 則是把數學獨立置中,
包夾的方式就比較多,
例如 $$ ... $$ 、 \[ ... \] 、 \begin{equation} ... \end{equation} 。
範例:
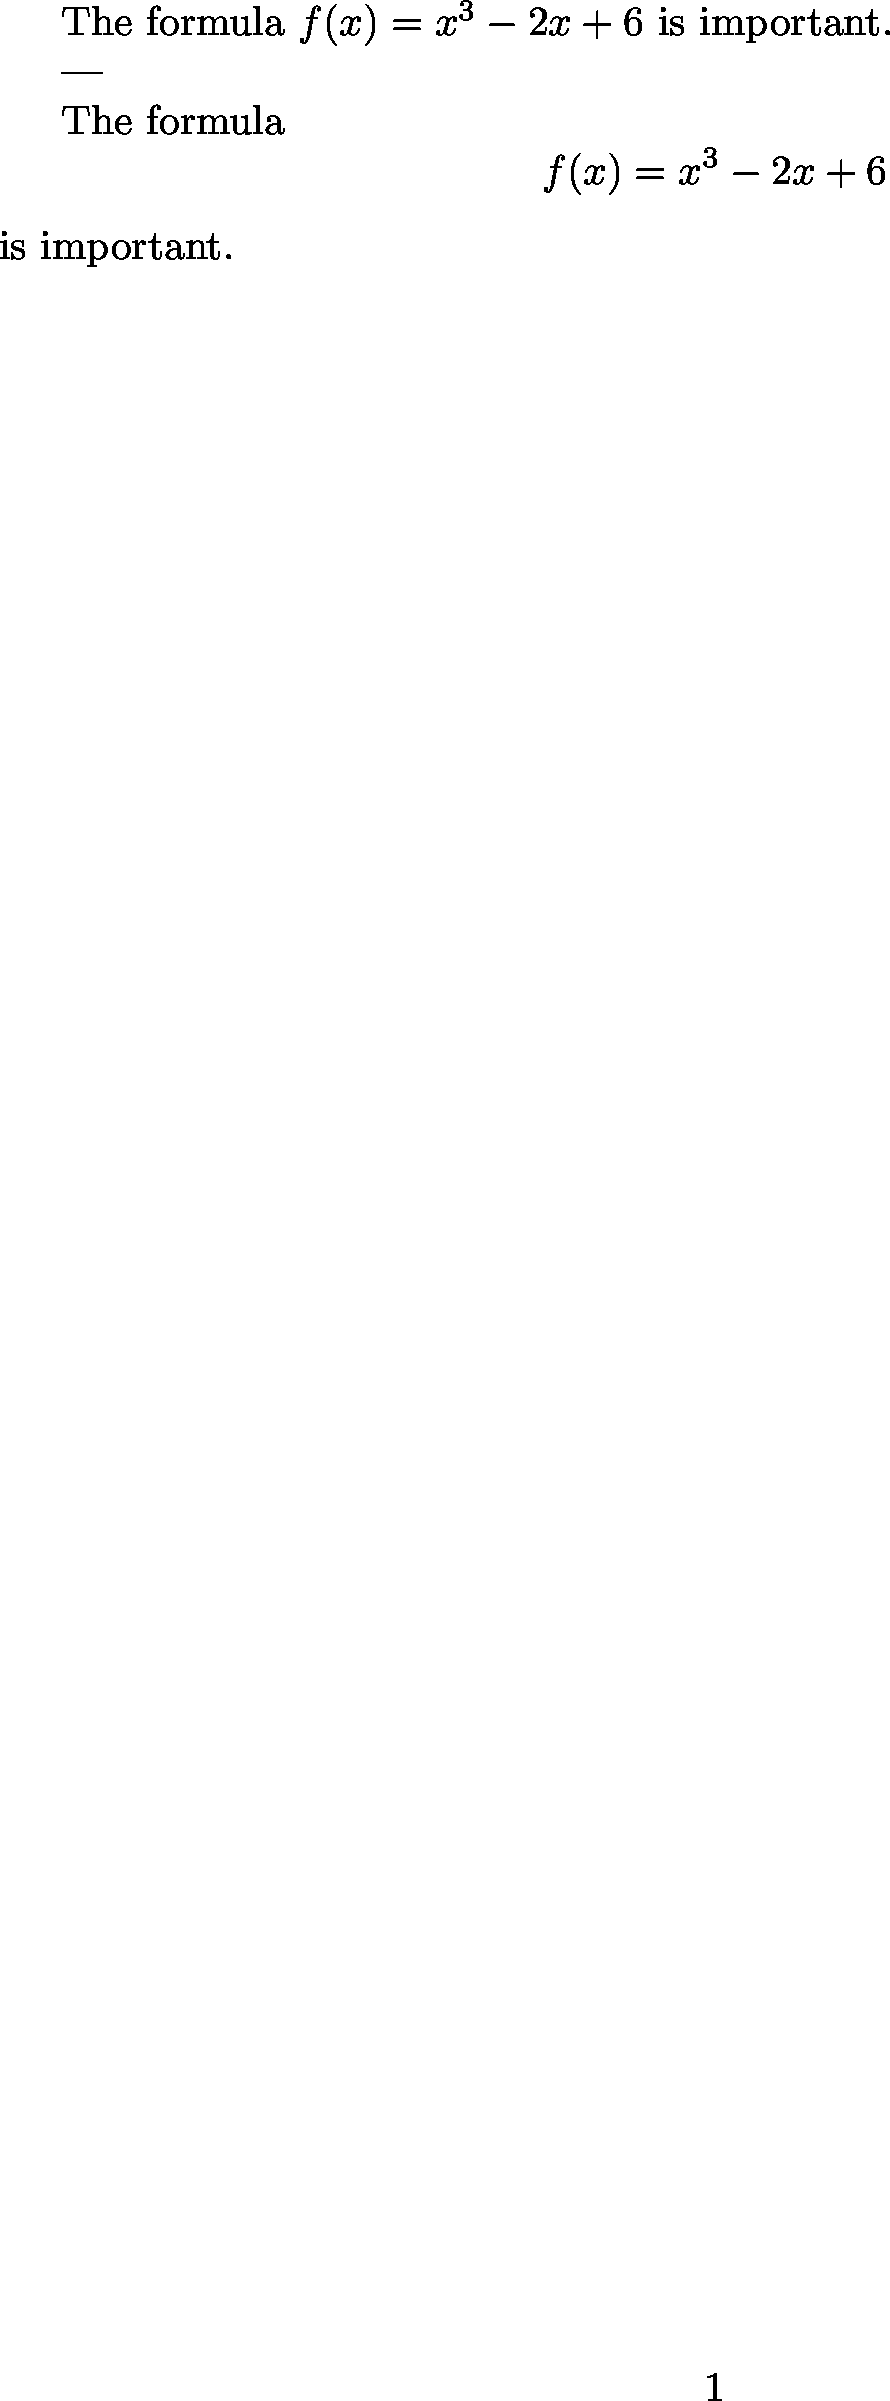
The formula $f(x)=x^3-2x+6$ is important.

---

The formula
$$
f(x)=x^3-2x+6
$$
is important.
完整範例:
\documentclass{article}

% 設定區域

\title{文章標題}
\author{作者}

\begin{document}

% 以下撰寫內容

The formula $f(x)=x^3-2x+6$ is important.

---

The formula
$$
f(x)=x^3-2x+6
$$
is important.

% 以上撰寫內容

\end{document}
範例四 - 中文支援
要支援中文要設定兩個東西, 一個是使用 xeCJK 套件, 另一個是選中文字型。
需要加入的內容:
\usepackage{xeCJK}
\setCJKmainfont{Noto Sans CJK TC}
字型可以選擇系統上的中文字型, 尋找系統上的中文字型來用:
$ fc-list | rg CJK
完整範例:
\documentclass{article}

% 設定區域

\usepackage{xeCJK}
\setCJKmainfont{Noto Sans CJK TC}

\title{文章標題}
\author{作者}

\begin{document}

% 以下撰寫內容

我們的 \LaTeX 終於可以打中文啦

% 以上撰寫內容

\end{document}
轉成 PDF:
$ xelatex chinese.tex
範例五 - 不同中文字體用不同字型
通常我們會對不同的字體選用不同的字型, 而要指定不同的字型也很簡單, 需要加入的內容:
% 不過目前 Noto Sans 沒有中文的斜體 :(
\setCJKmainfont[
    BoldFont={Noto Sans CJK TC Bold},
    ItalicFont={Noto Sans CJK TC Medium}]
    {Noto Sans CJK TC}
另外這是可以使用的設定:
setCJKmainfont
setCJKsansfont
setCJKmonofont
完整範例:
\documentclass{article}

% 設定區域

\usepackage{xeCJK}
\setCJKmainfont[
    BoldFont={Noto Sans CJK TC Bold},
    ItalicFont={Noto Sans CJK TC Medium}]
    {Noto Sans CJK TC}

\title{文章標題}
\author{作者}

\begin{document}

% 以下撰寫內容

我們的 \LaTeX 終於可以打中文啦

% {\bf{CONTENT}}
% {\bf CONTENT}
% \textbf{CONTENT}
這 {\it 真的} 很 {\bf 重要}

% 以上撰寫內容

\end{document}
轉成 PDF:
$ xelatex chinese.tex
範例六 - 英文字型
範例七 - AMS-LaTeX
AMS-LaTeX 是由美國數學學會(American Mathematical Society)開發的套件, 提供了許多數學相關的支援。
其中包含:
amssymb:提供原本 LaTeX 沒有的符號
amsamth:提供 align 等方便的環境
amsthm:提供比較好使用定理的環境
使用:
\usepackage{amssymb, ammath, amsthm}
AMS-LaTeX 也提供一種 Document Class 可以使用, 使用時會自動 amsmath、amsthm 和部份 amssymb, 如果要全套 amssymb 還是需要自己讀入, 使用範例:
\documentclass{amsstart}
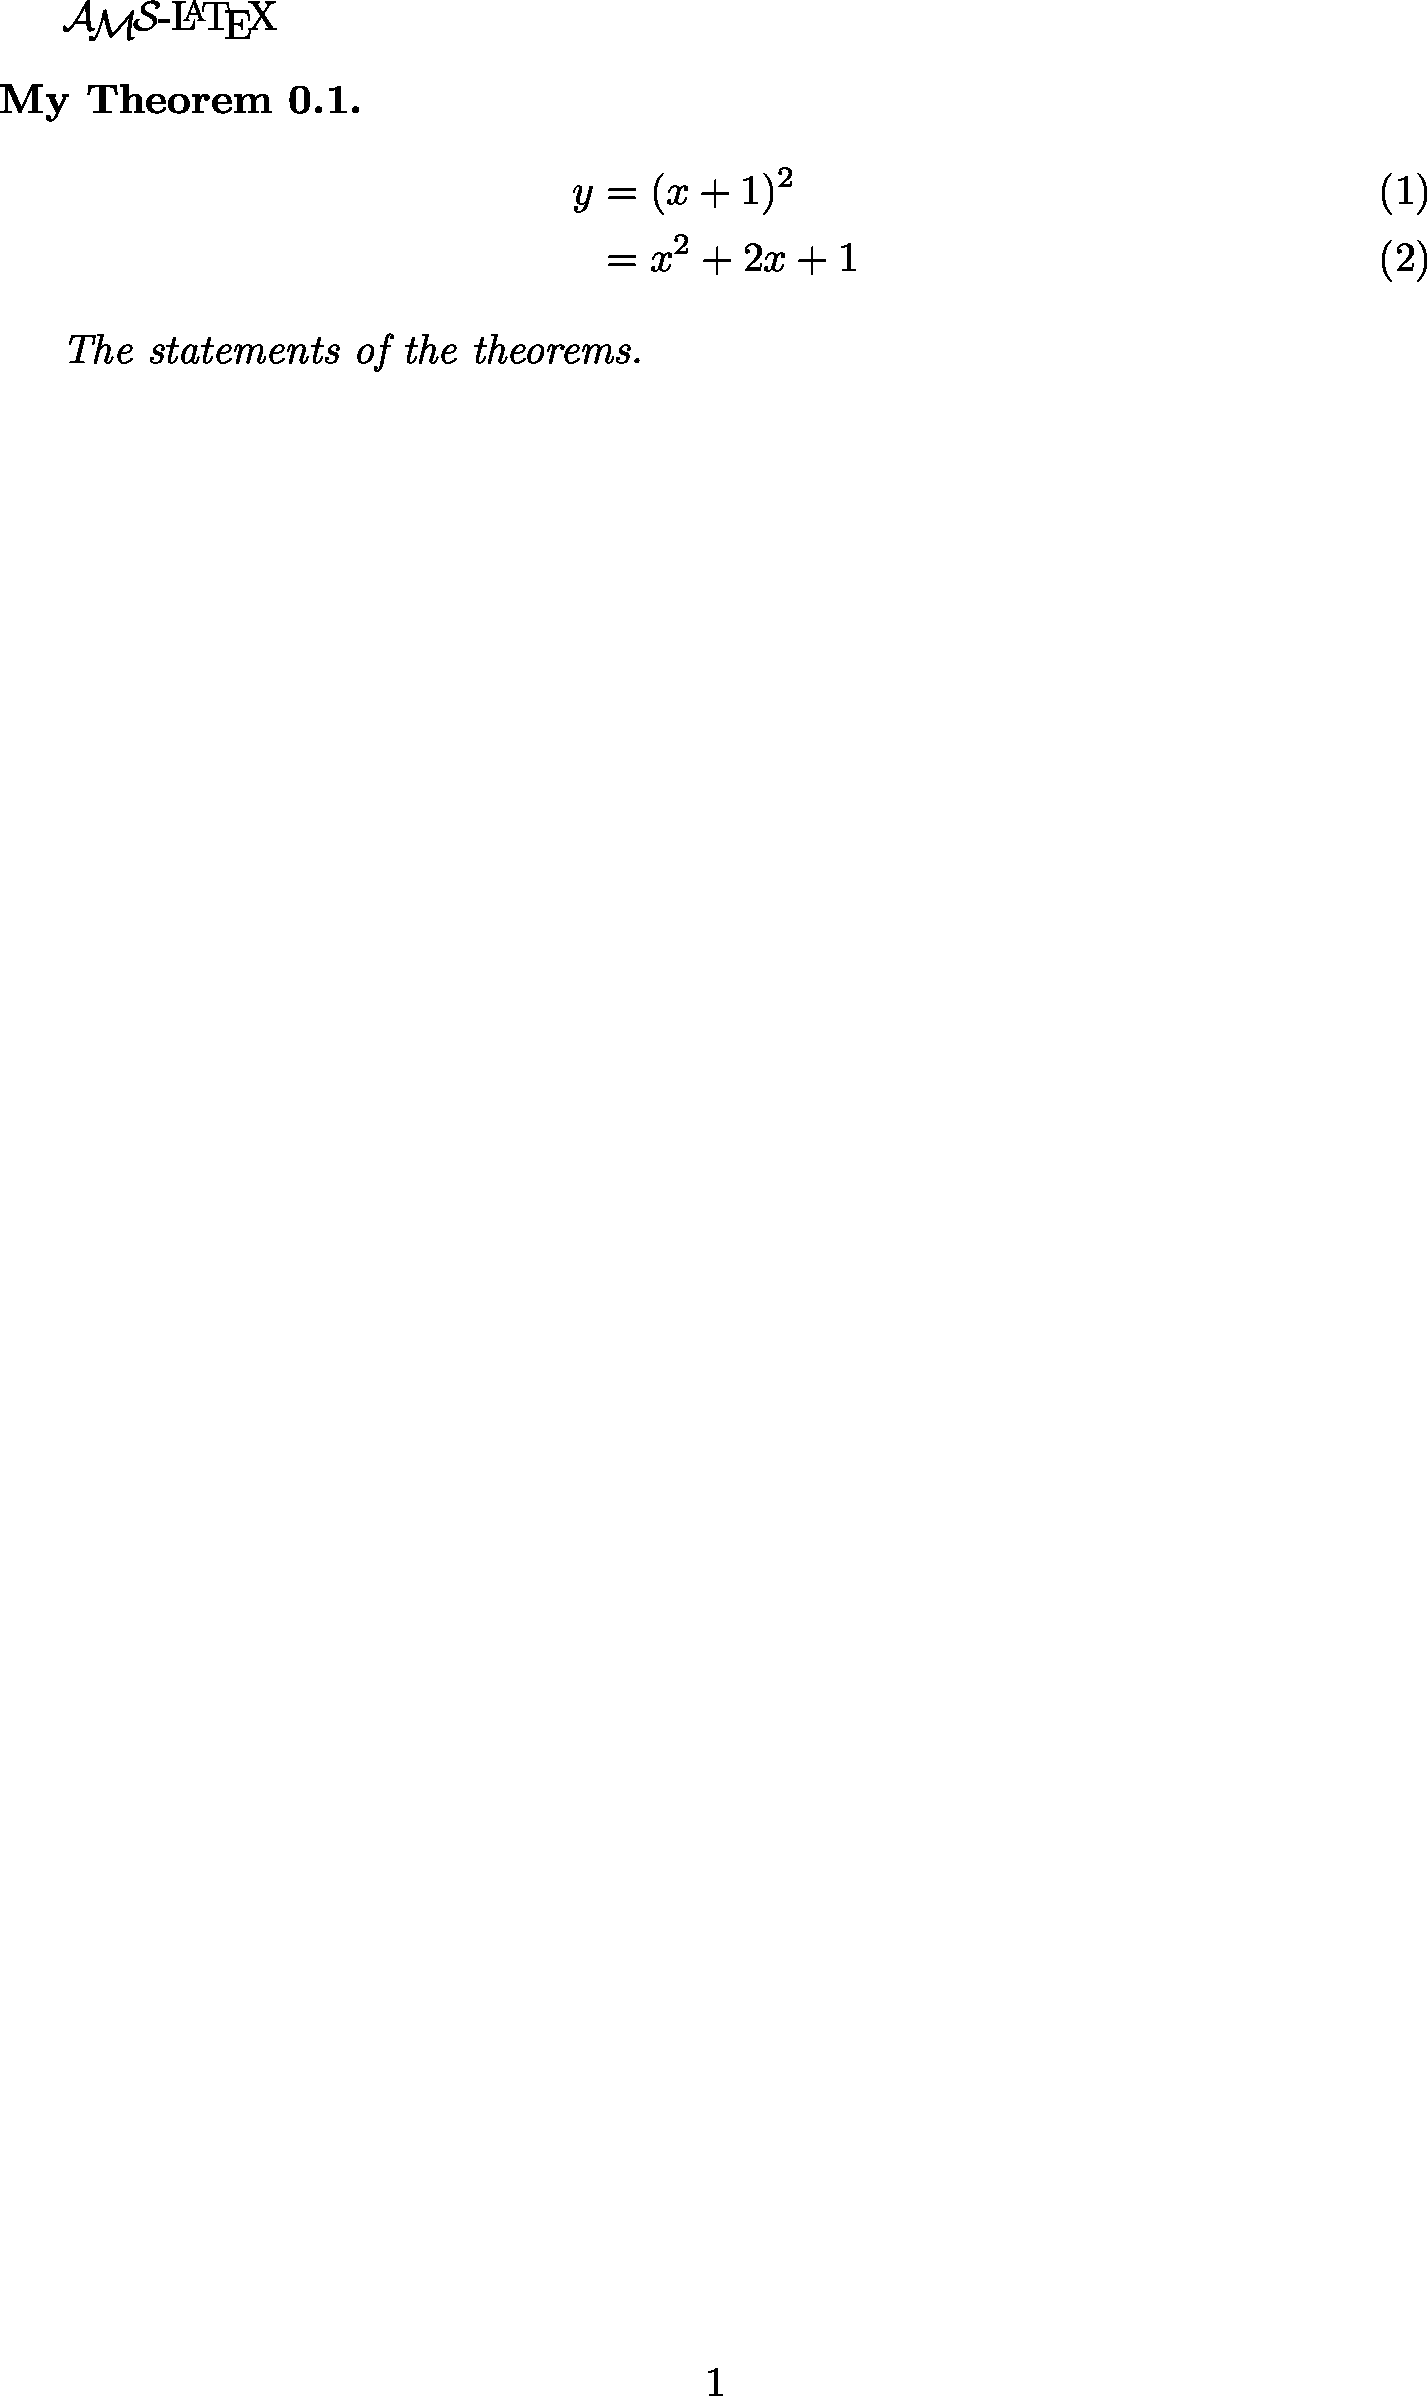
定義定理:
% 定義定理環境 thm
% 顯示時標示為 Theorem
\newtheorem{thm}{Theorem}

\begin{thm}
The statements of the theorem.
\end{thm}
還可以加上 [section] 來編號,
範例:
\newtheorem{thm}{Theorem}[section]
完整範例:
\documentclass{article}

% 設定區域

\usepackage{amssymb, amsmath, amsthm}

\title{文章標題}
\author{作者}

\newtheorem{thm}{My Theorem}[section]

\begin{document}

% 以下撰寫內容

\AmS-\LaTeX


\begin{thm}
    \begin{align}
        y &= (x+1)^2 \\
          &= x^2+2x+1
    \end{align}

    The statements of the theorems.
\end{thm}


% 以上撰寫內容

\end{document}
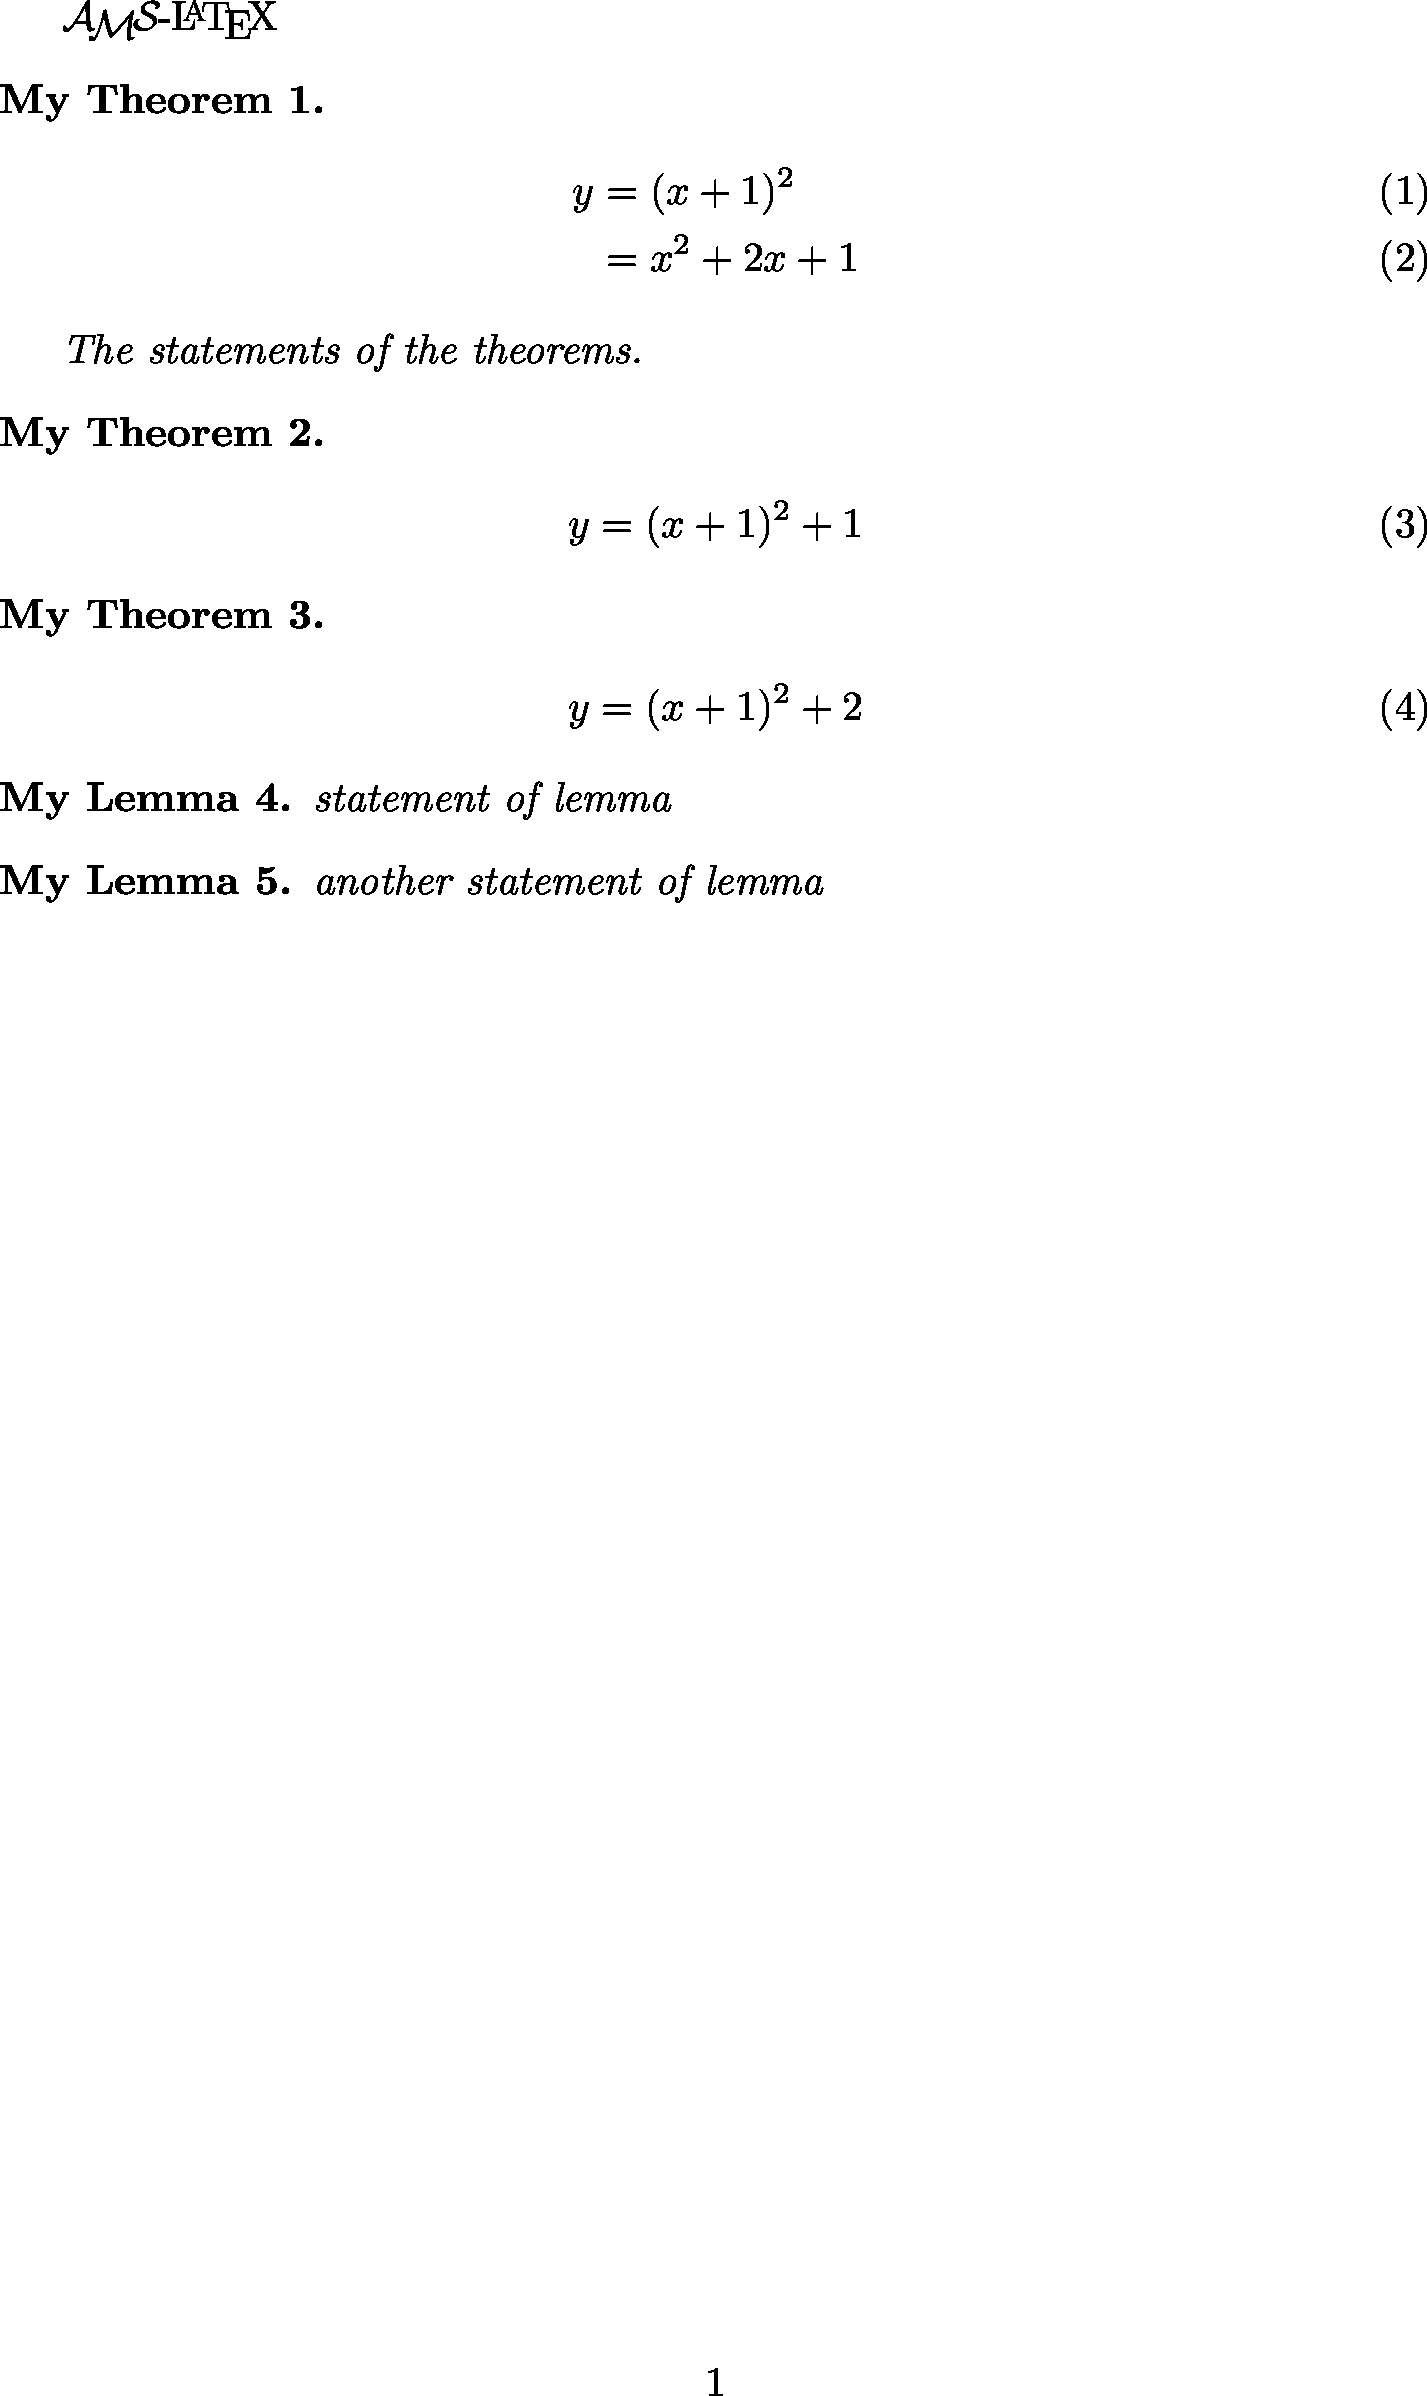
如果有定義多個定理環境, 那麼它們的預設編號是分開的, 但是可以指定要一起編號, 寫法:
\newtheorem{thm}{My Theorem}
\newtheorem{lem}[thm]{My Lemma}
完整範例:
\documentclass{article}

% 設定區域

\usepackage{amssymb, amsmath, amsthm}

\title{文章標題}
\author{作者}

\newtheorem{thm}{My Theorem}
\newtheorem{lem}[thm]{My Lemma}

\begin{document}

% 以下撰寫內容

\AmS-\LaTeX


\begin{thm}
    \begin{align}
        y &= (x+1)^2 \\
          &= x^2+2x+1
    \end{align}

    The statements of the theorems.
\end{thm}

\begin{thm}
    \begin{align}
        y &= (x+1)^2 + 1
    \end{align}
\end{thm}

\begin{thm}
    \begin{align}
        y &= (x+1)^2 + 2
    \end{align}
\end{thm}

\begin{lem}
    statement of lemma
\end{lem}

\begin{lem}
    another statement of lemma
\end{lem}


% 以上撰寫內容

\end{document}
如果需要沒有編號的定理環境, 就加上星號, 範例:
\newtheorem*{mainthm}{Main Theorem}
amsthm 還支援不同的定理風格, 包含:
plain
definition
remark
範例:
\theoremstyle{plain}
\newtheorem{thm}{Theorem}

\theoremstyle{definition}
\newtheorem{def}{Definition}

\theoremstyle{remark}
\newtheorem{rmk}{Remark}
完整範例:
\documentclass{article}

% 設定區域

\usepackage{amssymb, amsmath, amsthm}

\theoremstyle{plain}
\newtheorem{thm}{Theorem}

\theoremstyle{definition}
\newtheorem{defn}{Definition}

\theoremstyle{remark}
\newtheorem{rmk}{Remark}

\begin{document}

% 以下撰寫內容

\begin{thm}
    The statements of the theorems.
\end{thm}

\begin{defn}
    The statements of the definition.
\end{defn}

\begin{rmk}
    The statements of the remarks.
\end{rmk}

% 以上撰寫內容

\end{document}
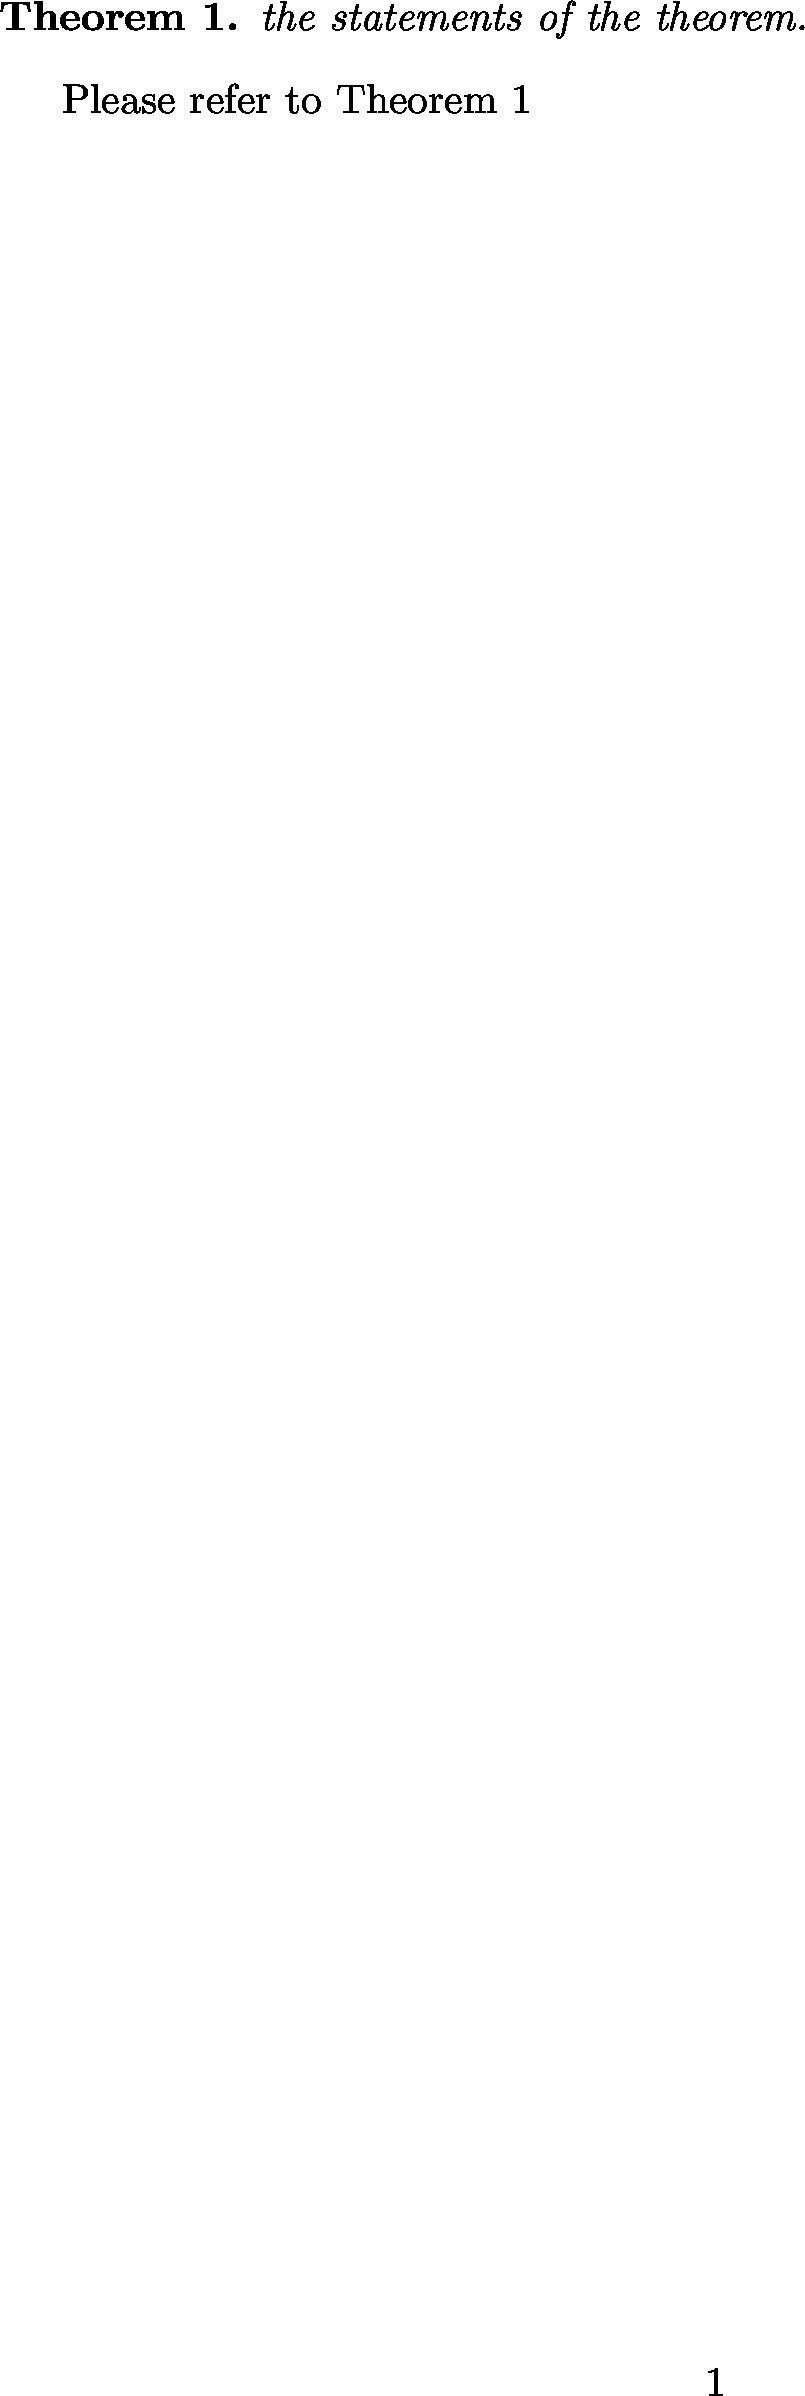
我們可以給定理附上標示( \label{代稱} ),
以便後續引用( ~\ref{引用代稱} ),
範例:
\begin{thm}\label{T:major}
    the statements of the theorem.
\end{thm}

% 引用

Please refer to
Theorem ~\ref{T:major}
完整範例:
\documentclass{article}

% 設定區域

\usepackage{amssymb, amsmath, amsthm}

\newtheorem{thm}{Theorem}

\begin{document}

% 以下撰寫內容

\begin{thm}\label{T:major}
    the statements of the theorem.
\end{thm}

% 引用

Please refer to
Theorem~\ref{T:major}

% 以上撰寫內容

\end{document}
範例八 - 嵌入圖片
要插入圖片可以使用 graphicx 套件:
\usepackage{graphicx}
接著可以使用 \includegraphics 來嵌入圖片:
\includegraphics[width=5cm]{pic.png}
圖片置中:
\begin{center}
    \includegraphics[width=5cm]{pic.png}
\end{center}
讓圖片依照版面狀況調整位置:
\begin{figure}
    \begin{center}
        \includegraphics[width=5cm]{pic.png}
    \end{center}
    \caption{Description}
\end{figure}
可以用額外的參數建議位置, 可用選項為:
h:Here,這裡
t:Top,頂端
b:Bottom,底端
p:Page,本頁
範例:
\begin{figure}[h]
    ...
\end{figure}
圖片也跟定理一樣可以上標籤和引用:
\caption{Description}\label{My Pic}

Here is the picture ~\ref{My Pic}
完整範例:
\documentclass{article}

% 設定區域

\usepackage{graphicx}

\begin{document}

% 以下撰寫內容

\begin{figure}
    \begin{center}
        \includegraphics[width=5cm]{rust.png}
    \end{center}
    \caption{Description}
    \label{fig:rust}
\end{figure}

% 引用

See the figure~\ref{fig:rust} on page~\pageref{fig:rust}

% 以上撰寫內容

\end{document}
範例九 - 列表
% 沒有編號

\begin{itemize}
    \item A
    \item B
    \item C
\end{itemize}

% 有編號

\begin{enumerate}
    \item A
    \item B
    \item C
\end{enumerate}

% 客製編號

\begin{description}
    \item [One] A
    \item [Two] B
    \item [Three] C
\end{description}
完整範例:
\documentclass{article}

% 設定區域

\begin{document}

% 以下撰寫內容

% 沒有編號

\begin{itemize}
    \item A
    \item B
    \item C
\end{itemize}

% 有編號

\begin{enumerate}
    \item A
    \item B
    \item C
\end{enumerate}

% 客製編號

\begin{description}
    \item [One] A
    \item [Two] B
    \item [Three] C
\end{description}

% 以上撰寫內容

\end{document}

範例十 - 陣列和表格
\[
\begin{array}{ccc}
    1 & 2 & 3 \\
    4 & 5 & 6 \\
    7 & 8 & 9
\end{array}
\]
這邊表示陣列有三行, 每行對齊中間, 支援的對齊方式有:
c:對齊中間
l:對齊左邊
r:對齊右邊
輸入時每行要用 \\ 換行,
每個欄位用 & 隔開。
表格使用方式跟陣列類似,
但是把 array 換成 tabular ,
範例:
\begin{tabular}{ccc}
    item1 & item2 & item3 \\
    1 & 2 & 3 \\
    4 & 5 & 6
\end{tabular}
用 \hline 加上橫線:
\begin{tabular}{ccc} \hline
    item1 & item2 & item3 \\ \hline
    1 & 2 & 3 \\ \hline
    4 & 5 & 6 \\ \hline
\end{tabular}
在設定中加上縱線:
\begin{tabular}{|c|c|c|} \hline
    item1 & item2 & item3 \\ \hline
    1 & 2 & 3 \\ \hline
    4 & 5 & 6 \\ \hline
\end{tabular}
陣列括弧(用 \left 和 \right 才能夠讓括弧夠大到可以把陣列包起來):
\[
\left(
\begin{array}{ccc}
    1 & 2 & 3 \\
    4 & 5 & 6 \\
    7 & 8 & 9
\end{array}
\right)
\]
\left 和 \right 一定要成對出現,
但是有時候我們只想要單邊,
下面是單邊的範例:
\[
|x| = \left\{
\begin{array}{rr}
x, & \mbox{if $x \geq 0$} \\
-x, & \mbox{if $x < 0$}
\end{array} \right.
\]
(我們可以用 \mbox 在數學式中輸入純文字)
範例十一 - BibTeX
範例十二 - 繪圖
可點的連結
\url{https://github.com/wdv4758h/notes/}
顏色 (Color)
TeX 家族
LaTeX
pdfTeX
XeTeX
LuaTeX
ConTeXt
相關工具
Vim
服務
Web Render
參考
擴充: